How to Get a Dog Used to Boots Before Hiking
Get your dog used to boots well before hike day: measure weight-bearing paws, introduce one boot indoors, reward a few calm steps, then add the remaining boots and short outdoor practice. Recheck fit and skin after every session.
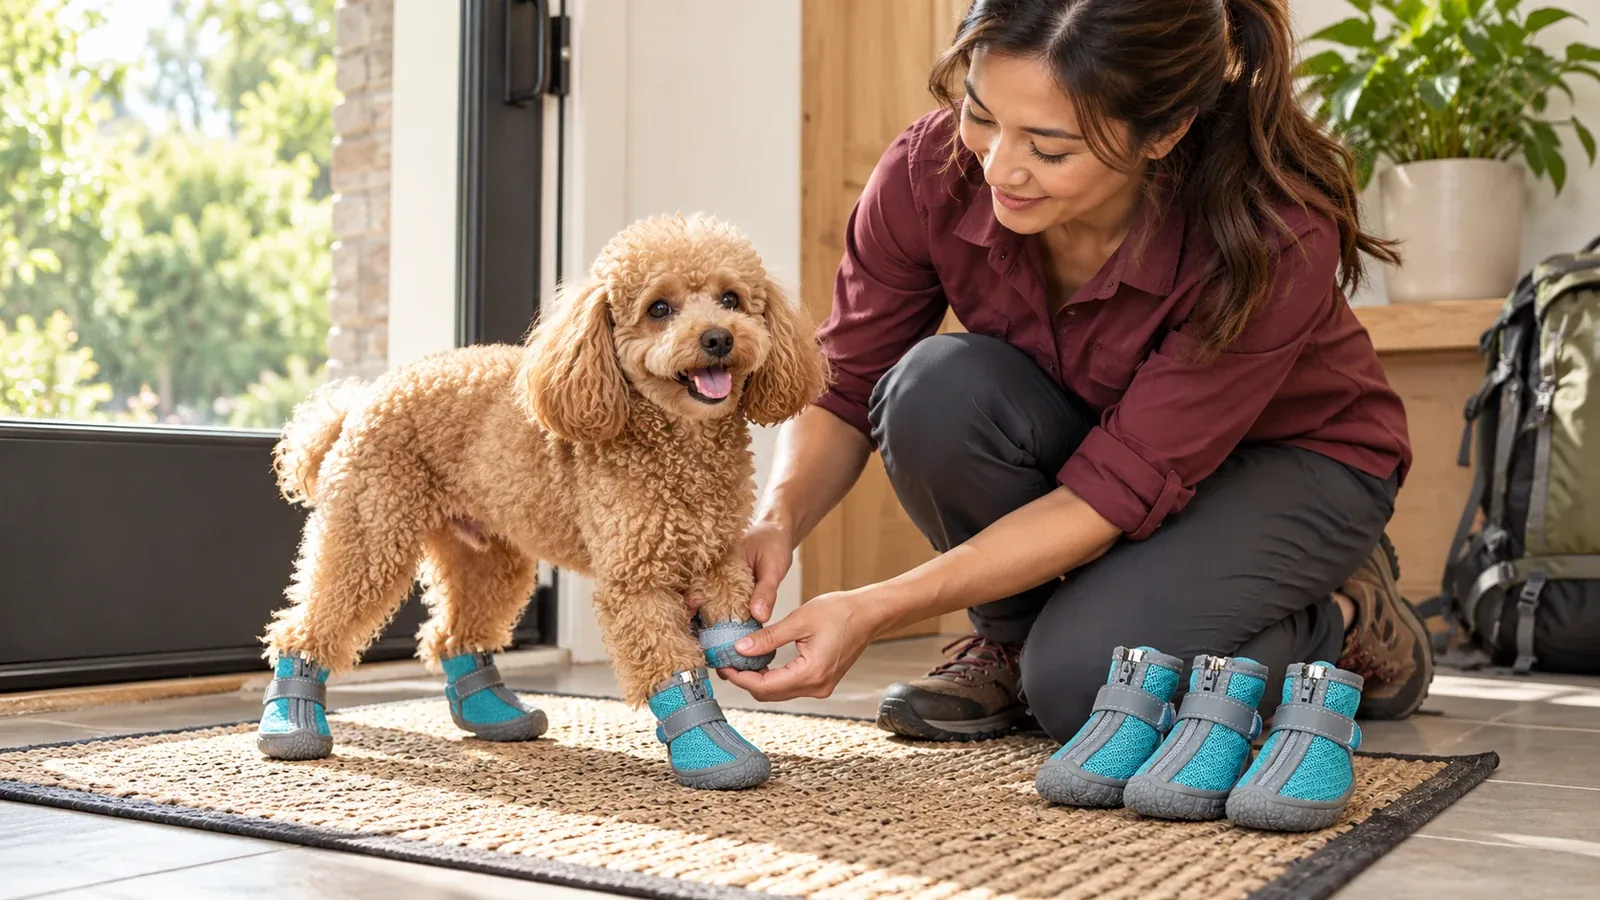
Get your dog used to boots well before hike day: measure weight-bearing paws, introduce one boot indoors, reward a few calm steps, then add the remaining boots and short outdoor practice. Recheck fit and skin after every session.
Boots can help separate paws from some rough, wet, hot, cold, or dirty surfaces, but they do not make unsuitable terrain safe. Trail rules, weather, fitness, paw condition, and your dog's movement still determine whether to hike.
Decide Whether Boots Fit the Trail Plan
Check the park or land manager's pet rules before choosing a route. The National Park Service notes that many parks restrict pets on trails and recommends matching the route to the dog's fitness, carrying water, using a leash, and checking conditions.
Inspect your dog's paws before training. Cuts, swelling, broken nails, tenderness, persistent licking, or limping need veterinary attention rather than a new boot test. Ask your veterinarian about footwear if your dog has a mobility condition, skin disease, healing injury, or unusual paw shape.
Measure Paws While Weight Bearing
Measure the paw according to the product's current size chart. Have your dog stand naturally so the toes spread under weight. Measure the widest and longest points specified by the manufacturer; front and rear paws may differ.
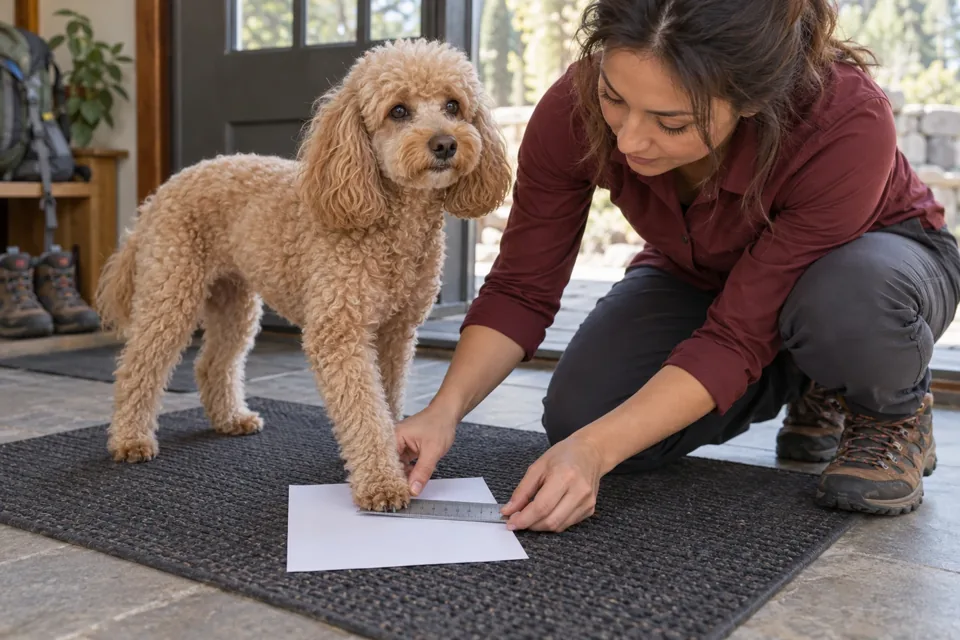
Do not choose by breed or body weight alone. Long nails, thick fur, and measuring a lifted paw can change the result. If measurements fall between sizes, follow the manufacturer's guidance and evaluate retention and toe room during a supervised indoor test.
Inspect the Boot Structure
Before fitting, open every zipper and strap and check the lining for rough seams, debris, or folded material. Match left and right boots if the design requires it. Confirm that soles are intact and closures move freely.
The paw should reach the bottom without toes being curled. Fasten the closure securely but not so tightly that it compresses the leg. Check that the top edge does not press into a joint and that fur is not caught in the zipper.
Start With One Boot Indoors
Let your dog sniff the boot, then touch it briefly to a paw and reward calm behavior. Put one boot on, set the paw down, and allow a few steps on a nonslip floor. Many dogs initially lift the leg high or step awkwardly because the sensation is unfamiliar.
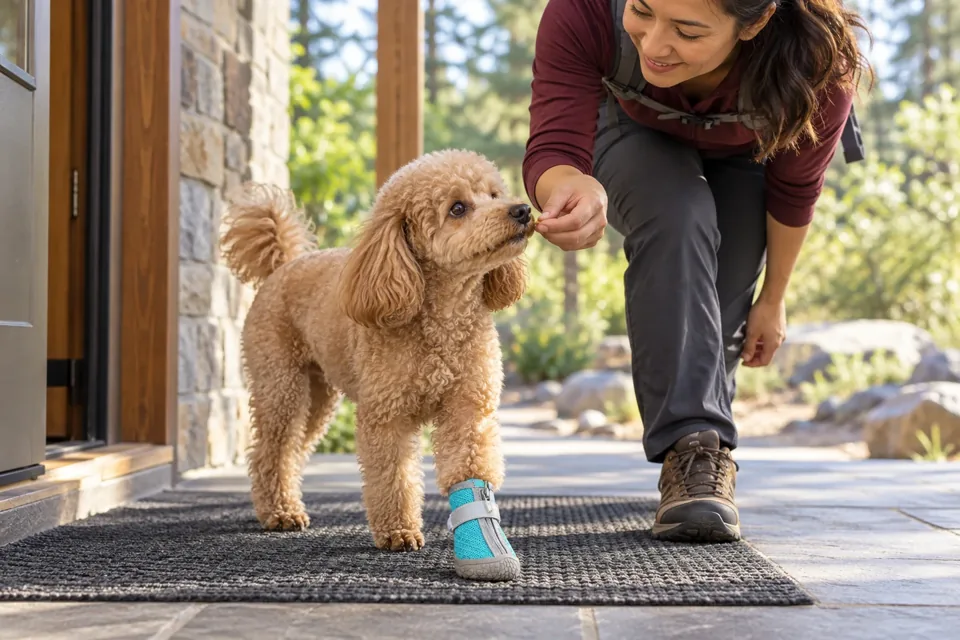
Give the dog time to look and move without laughing, pulling, or immediately adding distance. Remove the boot while the dog remains calm. Repeat later, then introduce a second boot. Build to all four only when the dog can stand and walk without escalating distress.
Stop and inspect immediately if the dog repeatedly bites at a boot, refuses to bear weight, falls, knuckles over, or shows persistent panic. Novel movement should improve quickly; a continuing abnormal gait can signal poor fit or an unsuitable design.
Diagnose the setup before adding more boots
Remove the boot and compare the paw with the other side. Check one variable at a time:
| Observation | Setup issue to inspect |
|---|---|
| Boot twists around the paw | Size, closure position, fur caught under the strap |
| Toes do not reach the bottom | Boot too long, paw not seated, lining folded |
| Dog will not bear weight | Pressure point, wrong size, pain, trapped nail or fur |
| Boot slips during a turn | Excess room, loose closure, sole mismatch |
| Redness at the top edge | Overtightening, rubbing, moisture, or unsuitable height |
Do not solve rotation by tightening until the leg is compressed. If careful fitting still produces the same problem, use a different size or design. When the bare paw is painful or gait remains abnormal after removal, stop and contact your veterinarian.
Progress to Short Outdoor Tests
Move first to a familiar yard or sidewalk in mild conditions. Walk briefly on one surface, then remove the boots and check every paw. Look for redness, damp friction, compressed toes, hair pulling, or strap marks that persist.
Increase duration gradually before adding rougher terrain. Practice turns, stops, and a few steps uphill and downhill in a controlled area. Confirm that no boot rotates, slips off, or changes the dog's stride.
The Breathable Waterproof Dog Boots combine breathable fabric with rubber, a mesh upper, zipper, adjustable closure, and textured sole. The page lists five sizes and instructs owners to measure first, place the paw fully at the bottom, fasten securely without overtightening, and practice indoors. “Waterproof” does not remove the need to dry paws and boots or check for trapped grit.
Use a Trail-Day Paw Check
Before leaving, inspect paws, nails, closures, soles, and the inside of each boot. Pack a dry cloth and a backup plan that allows you to shorten or end the hike. Keep your dog leashed where required and choose terrain that matches current conditioning.
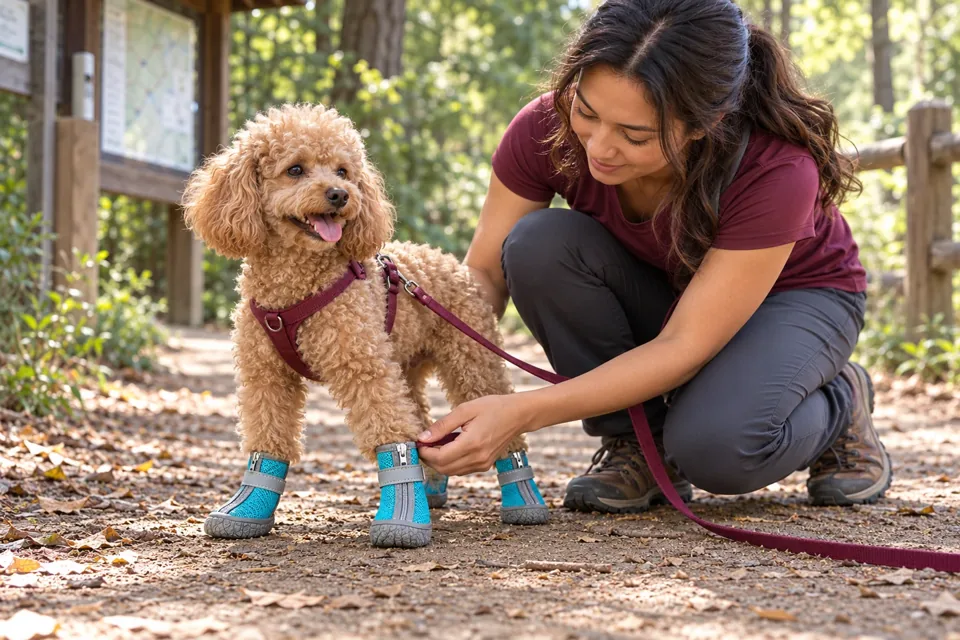
During breaks, verify that each boot remains centered and debris has not entered from the top. Check more often on wet, sandy, or rocky ground. Remove boots after the hike, inspect between toes, and let both paws and footwear dry.
Set a turnaround rule before starting. End or shorten the hike if a boot repeatedly comes off, the dog changes gait, skin becomes irritated, conditions exceed your preparation, or you cannot keep the product clean and centered. Carrying spare equipment does not obligate you to continue.
If you remove the boots mid-hike, reassess the remaining terrain rather than automatically proceeding barefoot. Rough volcanic rock, sharp gravel, hot ground, ice, or deicers may still be unsuitable. The National Park Service notes that some lava trails are not paw-friendly and that footwear may help on some routes, but route choice remains the first decision.
For a broader packing plan, use the summer dog hiking checklist. For winter deicer exposure, see the separate road-salt paw guide.
Frequently Asked Questions
Why does my dog walk strangely in boots?
The sensation may be unfamiliar, but movement should become more natural during brief practice. Persistent imbalance, refusal to bear weight, rotation, or rubbing means you should stop and reassess fit.
Should dog boots leave marks?
Closures may flatten fur, but redness, swelling, broken hair, tenderness, or deep persistent marks are not acceptable. Remove the boots and adjust or change the size or design.
Do dogs need boots for every hike?
No. The answer depends on terrain, temperature, moisture, debris, paw condition, and the individual dog. Boots are one option, not a universal requirement.
Can a dog swim in hiking boots?
Do not assume a hiking boot is designed for swimming. Wet boots can add weight or shift. Follow the product instructions and keep water activities separate unless specifically supported.
What if one boot keeps falling off?
Recheck that paw's measurement, fur placement, closure position, and whether front and rear paws need different sizes. Do not overtighten simply to keep a mismatched boot on.
Conclusion
Introduce boots as equipment, not a last-minute costume. Measure standing paws, practice one boot at a time, check movement and skin, then test short outdoor walks before committing to a trail. A calm indoor fitting can prevent a long hike with the wrong setup.
Continue exploring
Walk & Explore
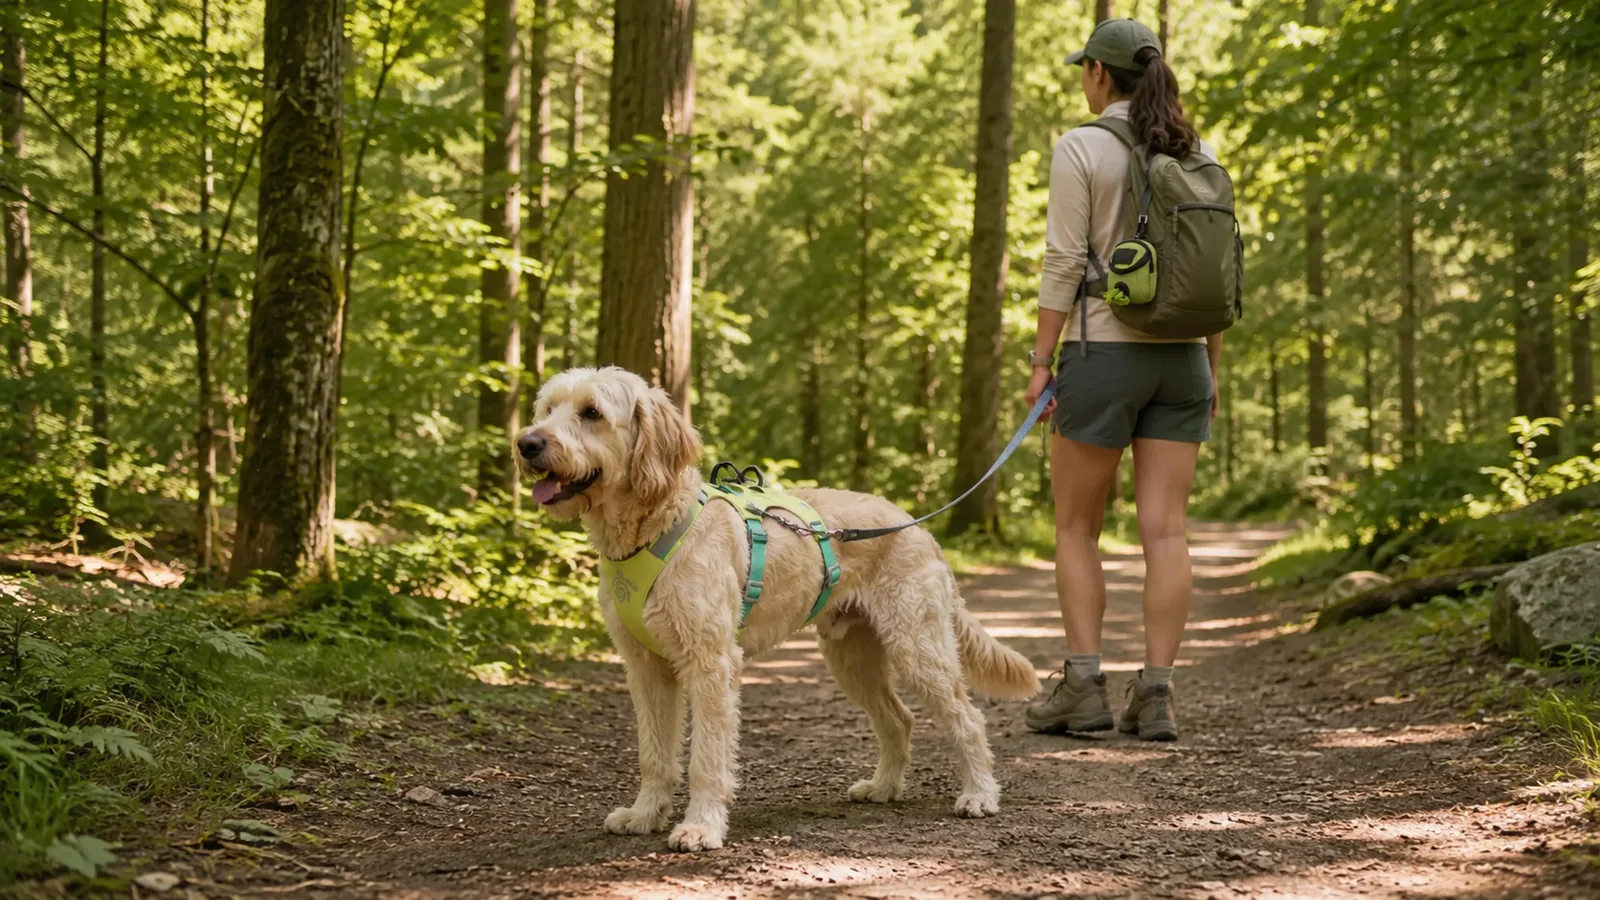
What to Pack for a Summer Day Hike With Your Dog
For a summer day hike with your dog, pack more than a leash and a shared water bottle. At minimum, bring water specifically for your dog, a portable drinking bowl, secure walking gear, current identification, waste bags, familiar treats, basic first-aid supplies, and a plan for shade and rest.
Read story
Walk & Explore
Is a Slip Lead Right for My Dog? A Practical Checklist
A slip lead is not the right default for every dog. Decide by how your dog walks, how comfortably they accept equipment, and whether you can avoid neck pressure. Persistent pulling, uncertain fit, or health concerns call for another setup or individual advice first.
Read story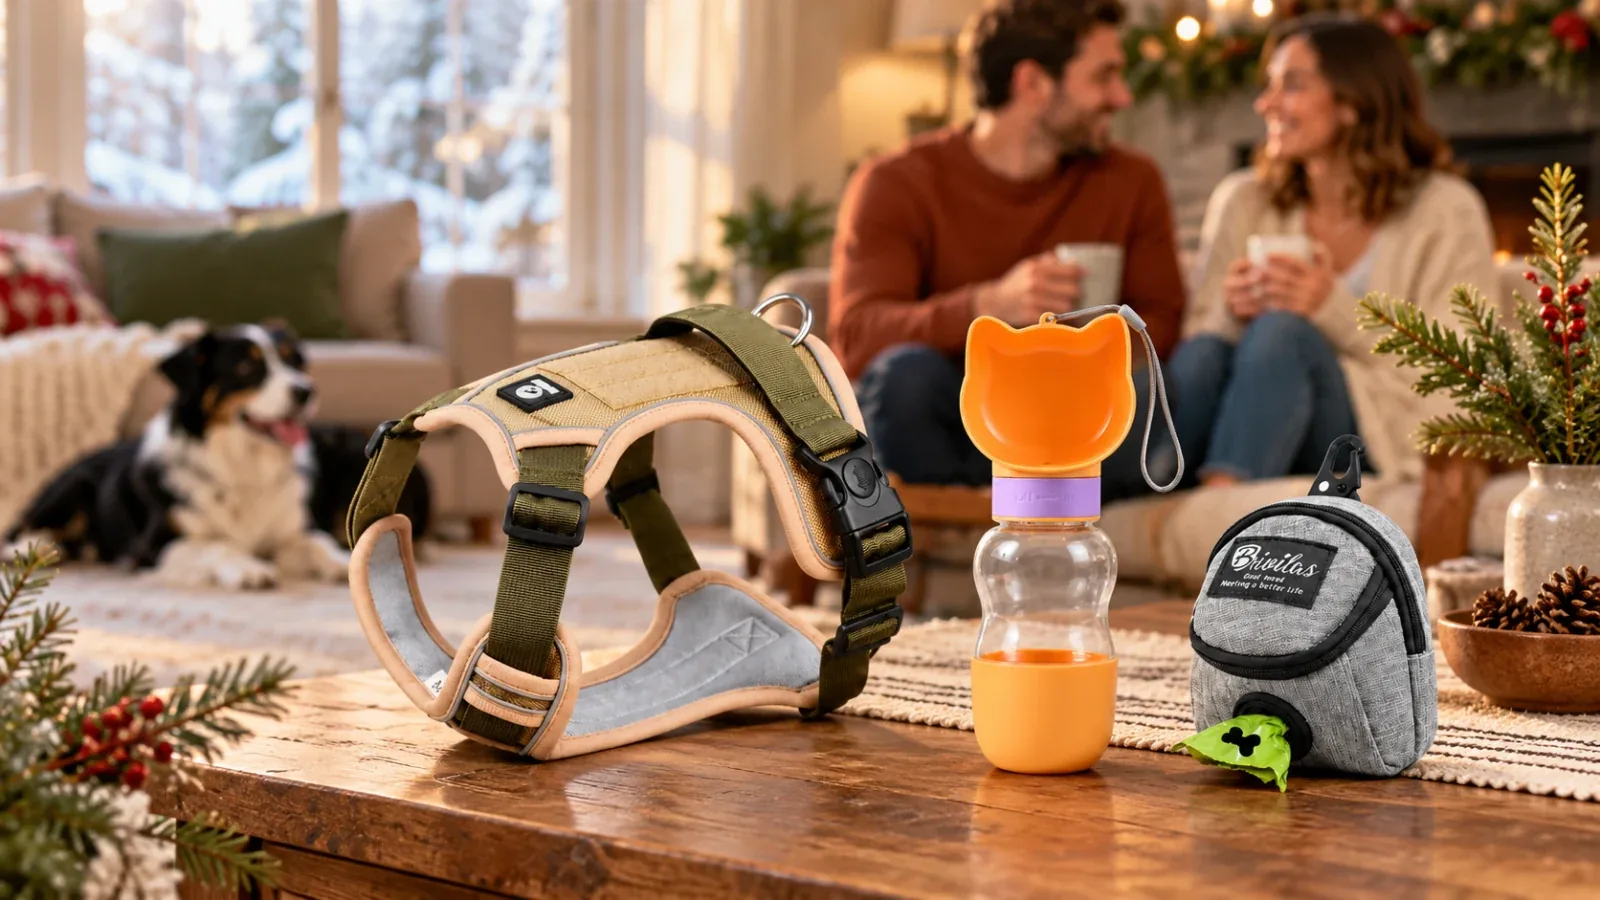
Walk & Explore
Holiday Walking Gifts for New Dog Owners: What to Choose
The most useful holiday walking gift for a new dog owner fits the dog and makes a daily task easier. If you know the dog's measurements and the owner's routine, a walking kit may work. If you do not, choose a lower-fit-risk item or select fitted gear together.
Read story